How to Make Fermented Veggies
Health | April 11, 2016
If you haven’t already read my article on the Benefits of Fermented Veggies, I would suggest you start there. It might inspire and motivate you to do this recipe below 😉
Now, I like to use all organic produce for my fermented veggies. I love to find whatever I can at my local farmer’s market, but sometimes I have to resort to the grocery store. You can use whatever kind of veggies you like, these are just what I prefer. It’s fun to experiment and try different recipes. If you’re looking for inspiration, look up some recipes up on the internet, use the recipes on the insert that comes with the culture starter (this is the one I use Body Ecology Culture Starter)), or try mine below!
Containers to ferment in are all about personal preference. The best containers are crocks, which have an airtight lid. However, they’re expensive. You can buy bubbler lids that screw onto canning mason jars and let gasses escape so you don’t have to “burp” the jars (release gasses) on a daily basis. I just like to use regular canning jars (the big quart size) because that’s what I already had and I’m a girl who loves to save money!
Although it obviously depends on how big your veggies are, this amount of veggies will usually fill 4-6 quart canning jars.
Fermented veggies are bright, tangy, and acidic tasting. They taste good in anything you traditionally like pickled things in or with. They are delicious in a salad, with any kind of savory protein (like over a filet of salmon), mixed in with tunafish, on a sandwich, in an omelet, as a side dish, over some brown rice, and so on! You should enjoy about 1/4 cup sized serving every day. If you overeat fermented veggies it may cause some excess gas and/or bloating. It’s not the end of the world, but maybe don’t eat a giant bowlful right before you need to squeeze into a slinky evening gown 😉
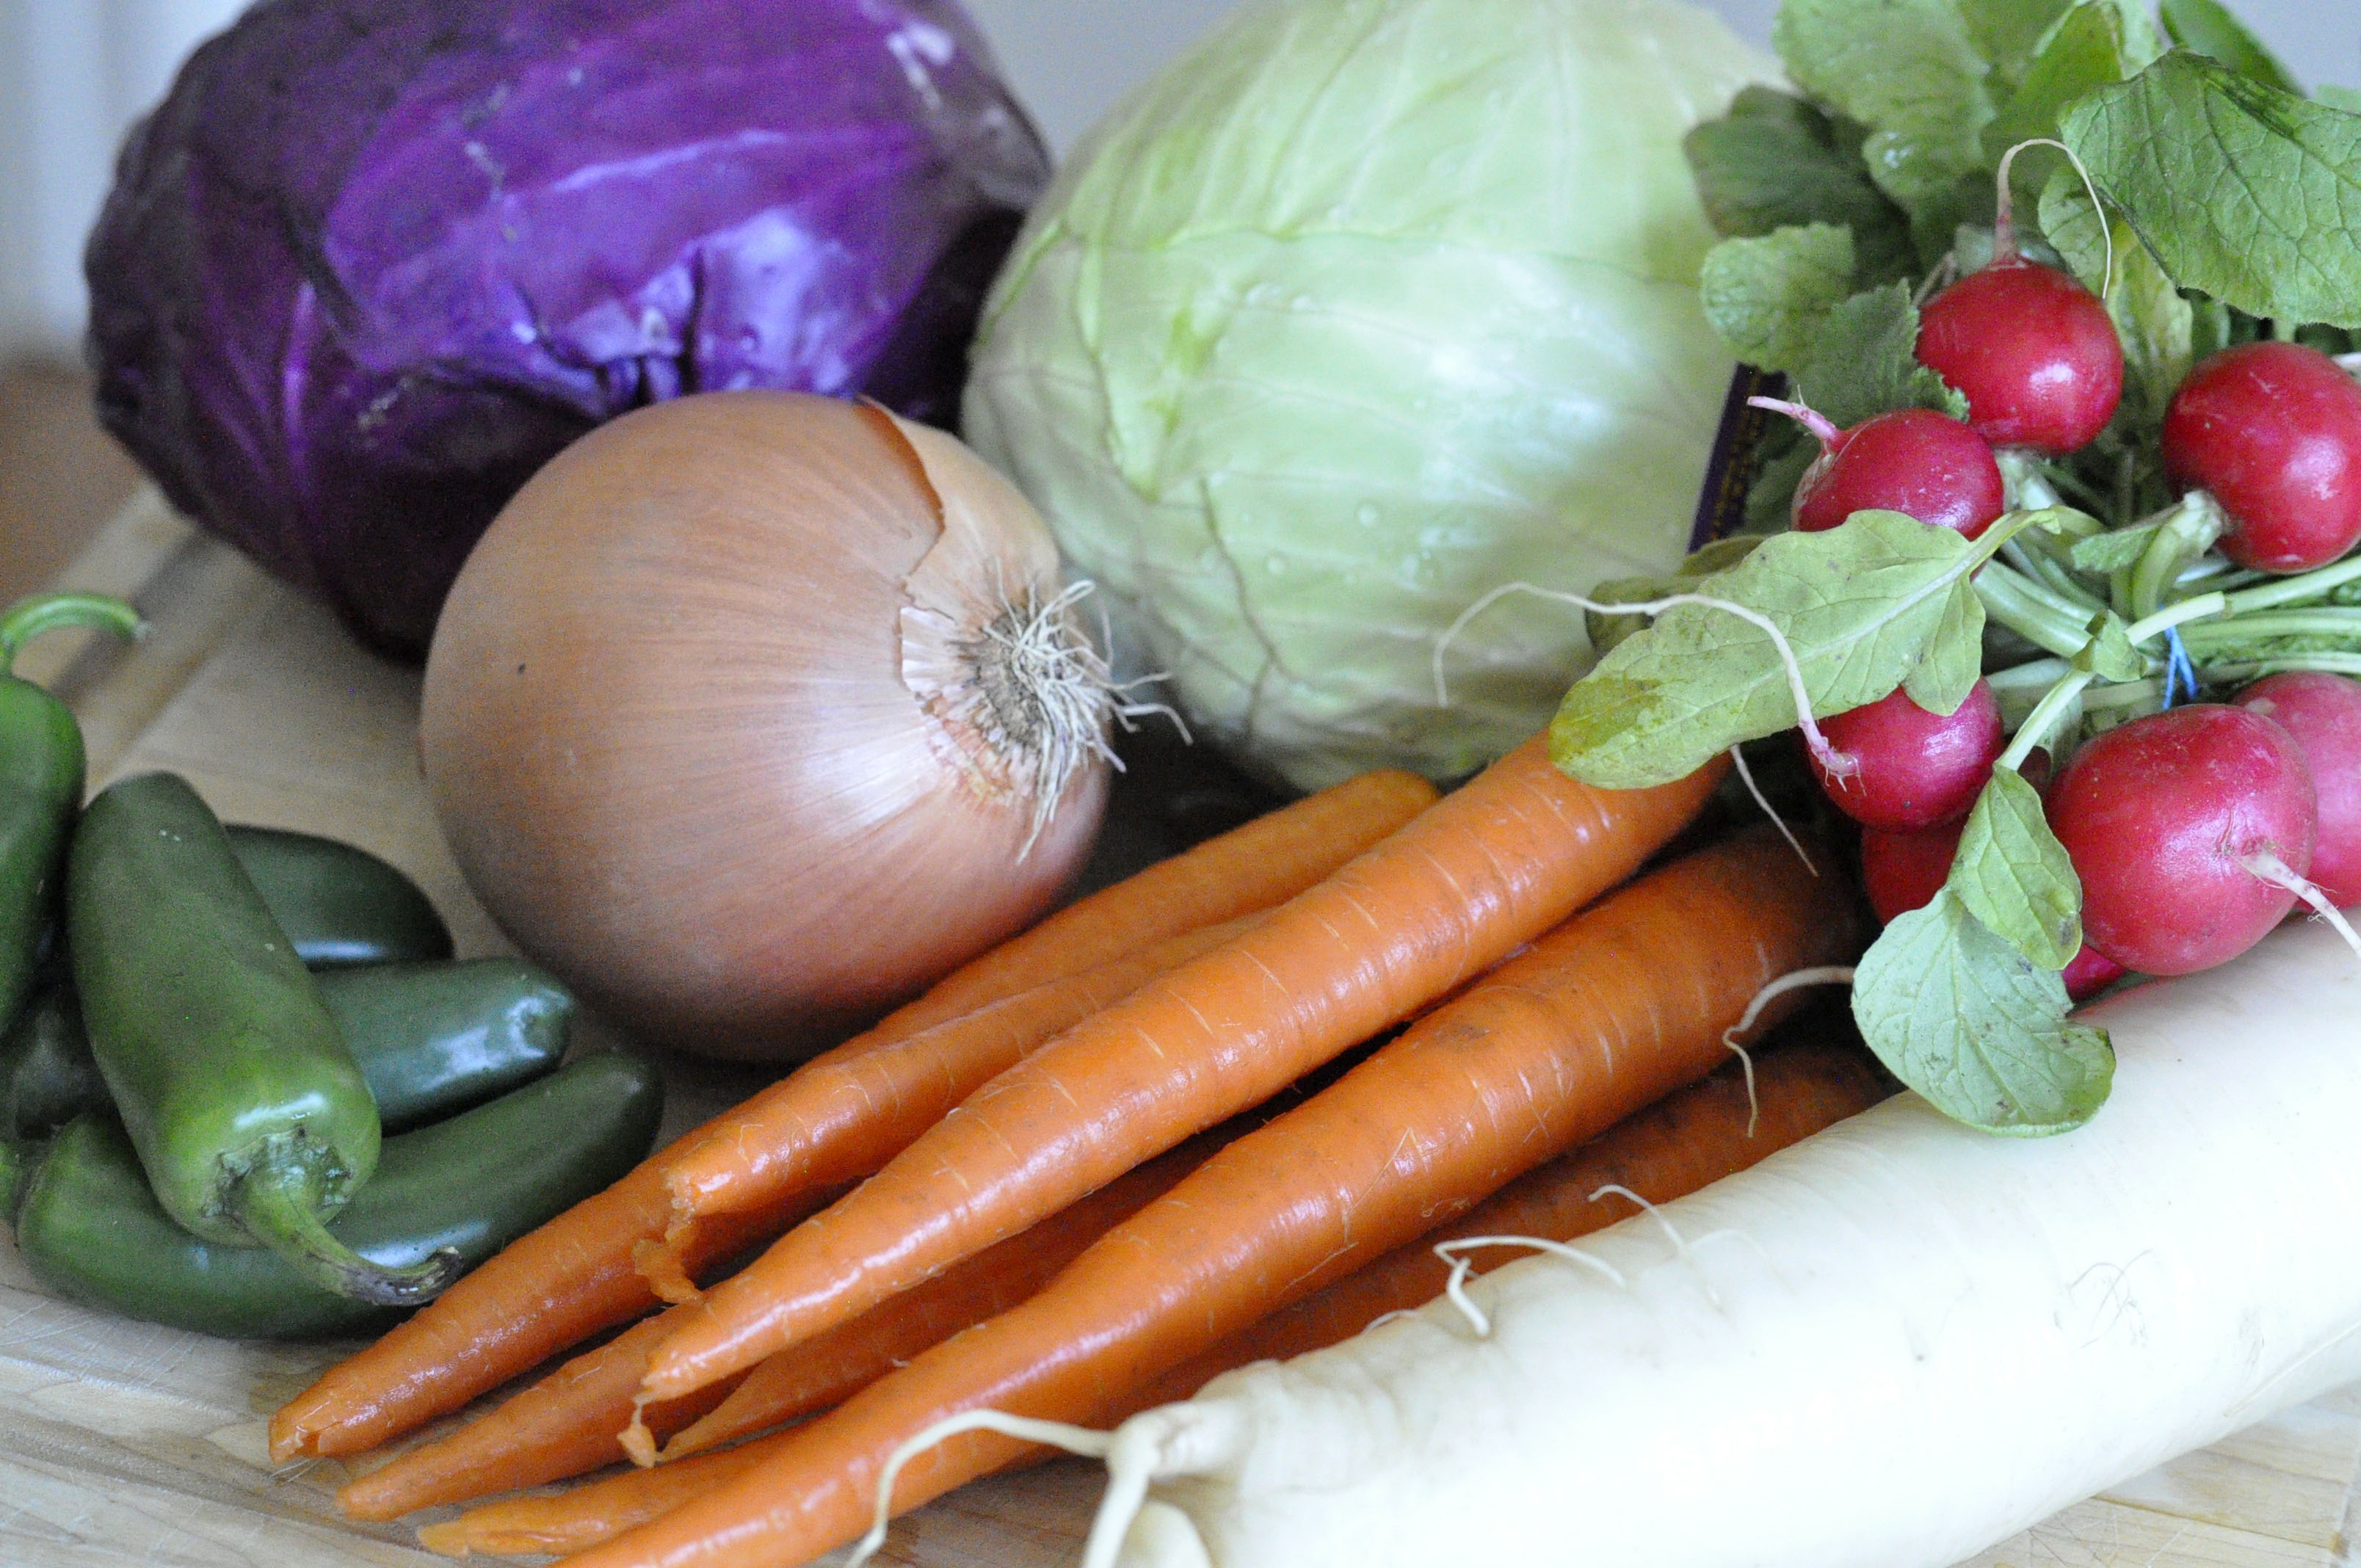
Suggest Veggie Ingredients:
Head Red Cabbage, shredded
Head Green Cabbage, shredded (save a few of the outer leaves whole)
2 Onions, diced
Daikon Radish, grated
Red Radishes, grated
Carrots, sliced
Cauliflower, chopped
Jalapenos, sliced
Additional Ingredients:
Filtered Water
Probiotic Culture Starter
EcoBloom Prebiotic
Before you start the most important thing you need to do is make sure and sterilize all the equipment you’re working with, including your knives, graters, cutting boards, bowls, fermenting containers, spoons, shot glasses, etc. You can sterilize your stuff by immersing them in boiling water or running everything through the dishwasher. Also very important to start, work with, and finish with clean hands. You want to keep all bad bacteria out of your fermenting containers.
Instructions:
Chop, slice, and grate all your veggies. It will make a very large volume of cut-up ingredients (more than you think possible!). Don’t forget to reserve a few whole cabbage leaves. If you have a huge, sterilized container, you can put everything in one place, but I find I usually end up using 2 or 3 big glass mixing bowls.
Follow the directions from the culture starter packet by mixing it with warm water and the prebiotic. Pour the mixture into the cut-up veggies and mix well.
Take a handful of veggies and liquify them in a high speed blender with some filtered water to make a veggie juice. Set aside.
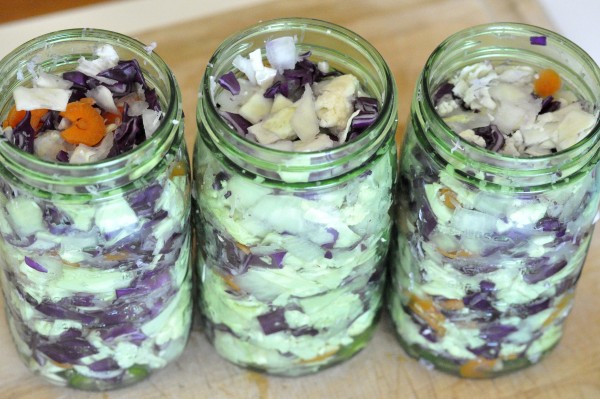
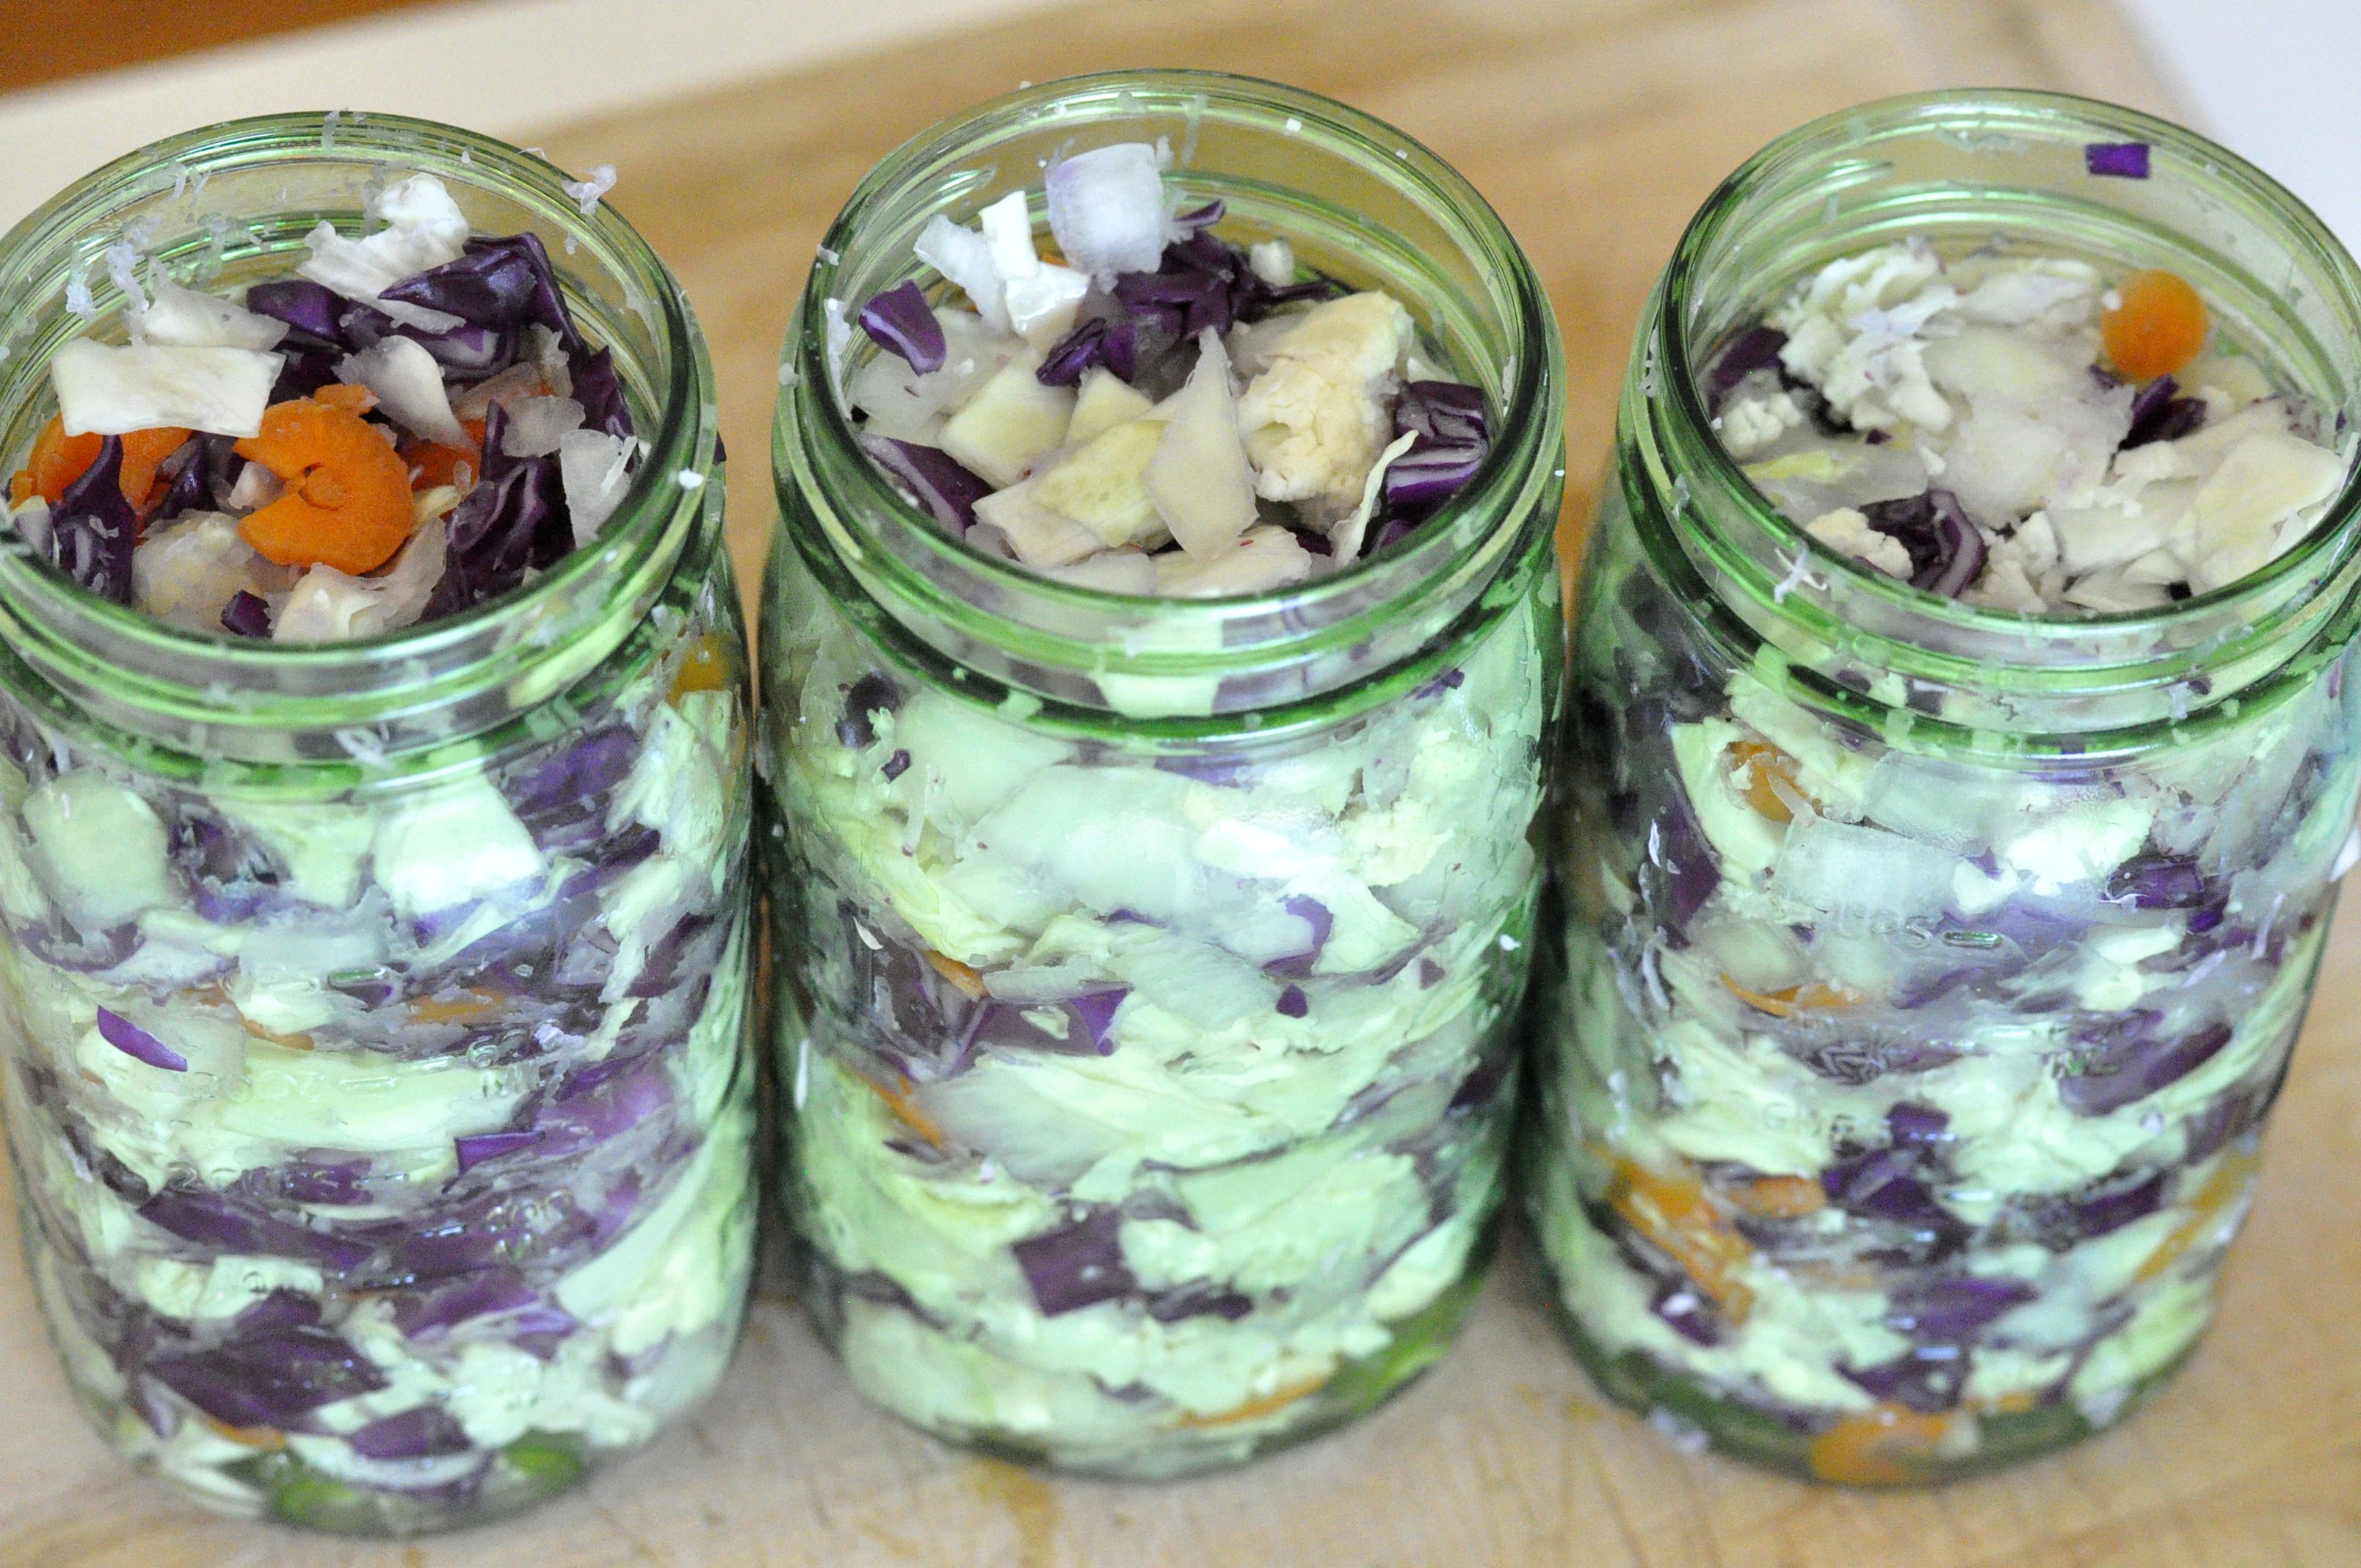
Tightly pack the veggies into your sterilized, fermenting containers, using a spoon handle or your clean fist to push the mixture down and make sure there are no air bubbles. Liquid should start to rise up and cover the veggie mixture as you pack it down. There needs to be enough liquid to completely submerge the veggies as you pack them very tightly into your fermenting containers. Any air bubbles can lead to rot. If your mixture seems too dry, add the veggies juice you just made and fill your containers to completely submerge your chopped veggie mixture. Make sure and leave an inch or two of room at the top of the jars for the veggies to expand.
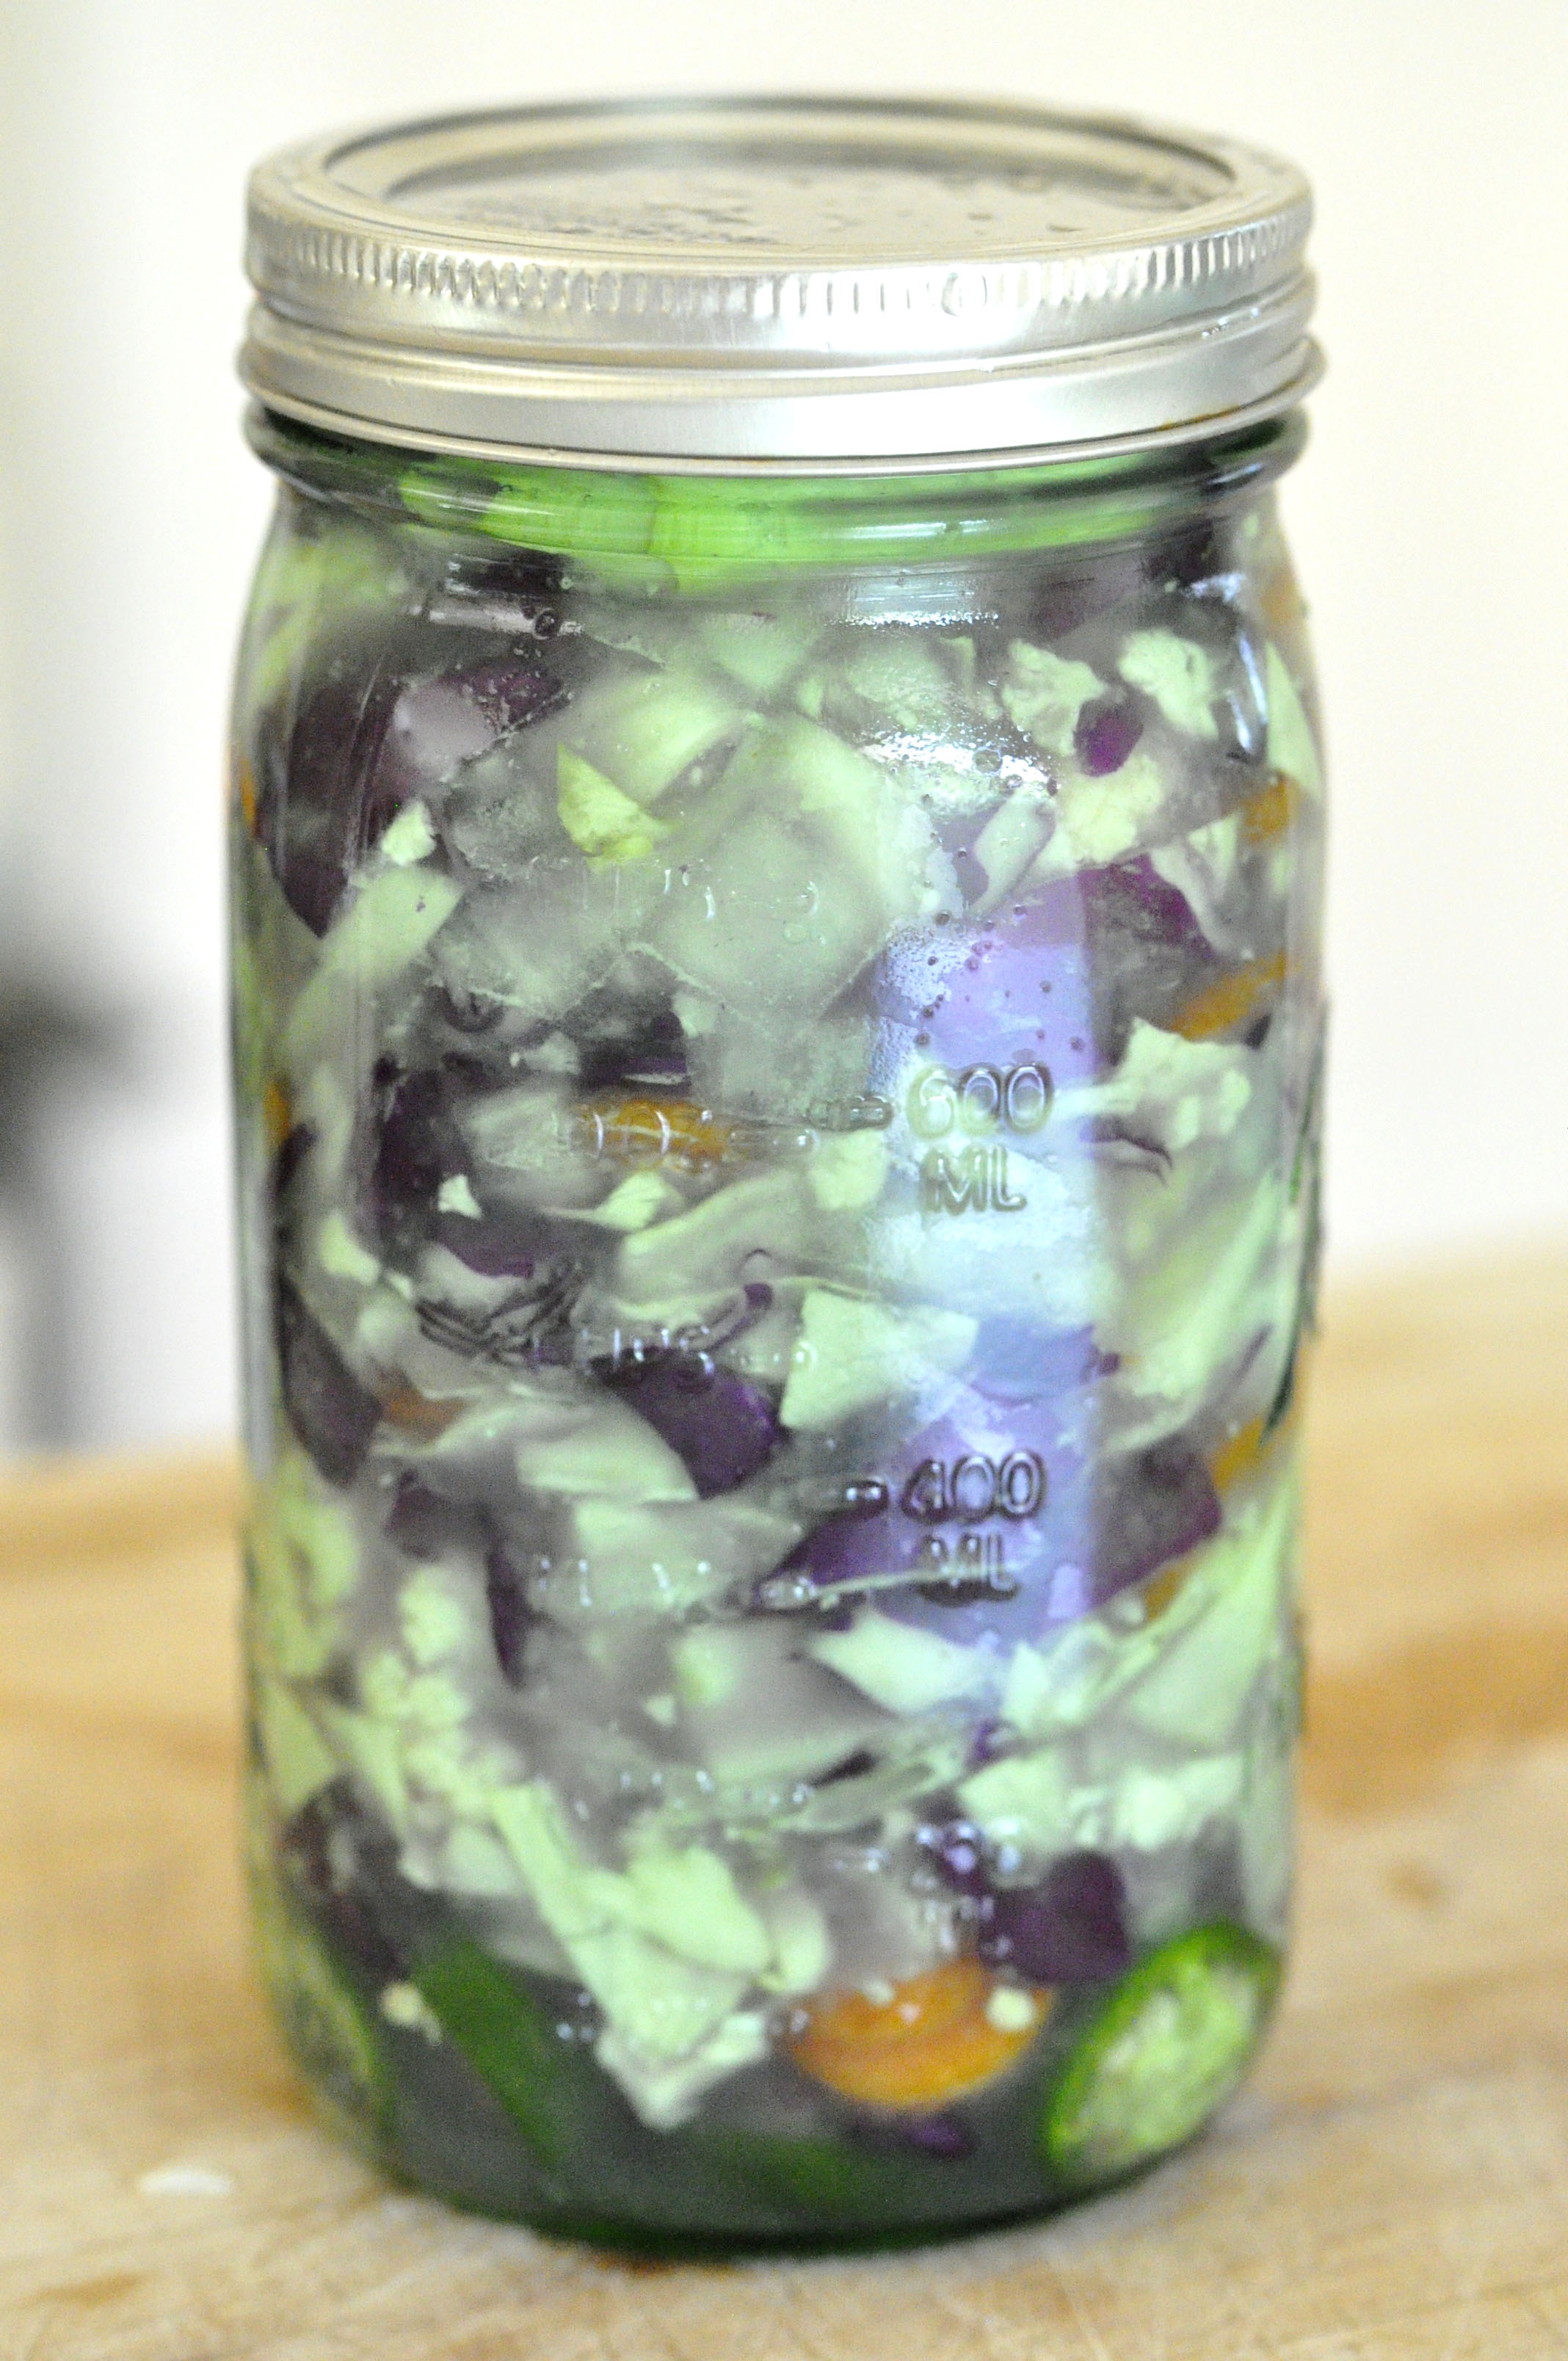
Take the reserved whole green cabbage leaves and rinse them until they’re completely clean. Fold the leaves and press them over the veggie mixture. (This will later be disposed of but will serve as a barrier between the veggies and the air at the top and to help all the veggies stay completely submerged.)
If you’ve using a canning jar like myself and not an airtight container or a bubbler lid, you can use something small and clean (like a sterilized glass shot glass) to put on top of the cabbage leaf that will hold the veggie mixture completely under the liquid after the lid is secured. If you’re using canning jars, screw the lids loosely enough so that some air can escape, but tightly enough so that you can still pick the jar up safely. Be sure to wipe any juice or veggie pieces away from the edges of your container before you close them.
Wipe or rinse your sealed fermenting containers clean and put them on a leak-proof flat surface with an edge. I like to put them in a pyrex baking dish. Often as the veggies expand, the juices will leak out of the jars a little bit, so you’ll want a place for the juices to pool.
Store your fermenting veggies in a dark, warmish place. If it’s too cold or sunny, your veggies will take forever to ferment or fail to ferment at all. Try to think of a place where it’ll be around 70 degrees. I like to put my pyrex storing dish in one of my empty kitchen cabinets. A cooler with a lid slightly ajar can be a good option as well.
Important note: If you use canning jars with screw on lids you’ll need to “burp” your jars once a day so they don’t expand from the build-up of gasses released by the fermenting veggies and break your jars open. To “burp” them, just open the lids once a day. If you see a little mold or slime, don’t worry it’s part of the process, just wipe it away. Here’s a great article on how to deal with any of the above.
Now, fermentation is not an exact science! If this is your first time fermenting, you’ll need to taste your veggies every day to see when you think they are “done”. Make sure you always have clean hands when you taste the veggies! Over time (anywhere from 3 days to 2 weeks) your veggies will start to taste tangy, zingy, deliciously funky, and bubbly. This is fermentation!
How fermented you want your veggies to be is a personal preference. Once you feel like they’ve fermented enough, take the shot glass and top cabbage leaves out of the jar. Remove any slimy veggies from the top and enjoy! Make sure and store your finished veggies in the fridge, otherwise they’ll continue to ferment to the point of rot. The fermentation process will continue in the fridge but at a much, much slower rate. You can keep you fermented veggies for a few months! If they start to taste “off” or decompose you can just throw the remaining veggies away, but that’s never happened to me.
Please remember that fermented veggies are funky! They smell wonderfully stinky. Expect your ferment to be pretty smelly. If you’re wondering if your fermentation has gone south and has actually rotted, you will know. There’s a big difference between rotten veggies and fermented veggies. I have never had a batch rot on me.
So, that’s fermentation! Remember, if you think your veggies are rotten or inedible, just toss ’em out and start again.
Do you regularly eat fermented foods? Do you have a fermented veggie recipe that you like to use? I’d love to hear all about your experiences with the magical world of fermentation and how your veggies turn out! Let me know!


Private Member |
santa cruz, ca
Thank you for this! This is exactly what people need to see. I knew it wouldn’t be long before you discovered Donna Gates, and her Body Ecology program since you’re in L.A. I’m a fan. 🙂
Private Member |
ellijay, ga, united states
I make sauerkraut by fermenting cabbage on a regular basis. No special ingredients, either…just water, salt (about a tablespoon or so), and cabbage in a big mason jar! I’ve found it helps to put a large leaf on top to keep everything else from floating out of the liquid. It’s SO amazingly tasty that I can’t EVER imagine going back to store-bought! It tastes so crisp and crunchy and has way more flavor than the soggy stuff from the store! It takes about 2 weeks but is worth the wait.
We’ve also started making our own apple cider vinegar in a similar manner (no salt, though) whenever the wild apple trees in the area start to bear (extra-awesome because since they’re wild, it’s organic!)
Private Member |
ellijay, ga, united states
Ha ha, and I wrote that about the cabbage leaf before it dawned on me that the same is written above! 😉 I LOVE the idea of the extra glass to hold it down! I have a new batch ready to make — I’ll try that this time!!
Private Member |
caseyville, illinois
Christin,
i make my own saurkraut also. I do not use a starter as i just never got around to buying one since i have to order online. Do you squeeze your cabbage and let sit for awhile or do you just mix with salt and water and put in a jar?
Private Member |
ellijay, ga, united states
I usually just add a tiny bit of salt and let it sit for about 10 minutes so it gets all juicy (I always feel like it makes it more flavorful!) before sticking it in the jar. I’ve skipped that step plenty of times, though.
I’d never heard or thought of doing it the starter method, before (but I do like the idea of a less salty method. 🙂 ). Salt is something we have on hand, so that makes it super convenient doing it that way for sure!
Private Member |
My husband works in the field of immunology and gut microbiology. For the longest time he talked about the microbiome and how this influences so much more than how our bowels feel. He would come home from work citing excellent research on a healthy microbiome and lower cancer rates, depression/mental health, suicide rates amongst others. That’s when things clicked with me; if a healthy gut can influence how I feel and my mental health, there must be something to it. I started fermenting. Right now I’m a huge fan of milk kefir which I ferment with my own “grains” and I also love my fermented ginger. Look up recipes on line for “ginger bug” and you’ll find lots. I use my ginger fermentation every day in drinks, my smoothies or even when I cook (I put it on AFTER I’ve cooked the food so my precious bugs don’t die). I also make my own water kefir but am less of a fan of that. Did I notice any huge changes in how I feel? Not really…but I don’t suffer from bloating or constipation, very rarely get sick and love my fermented foods. I work in the medical field and did my due diligence in looking the research up. This was one huge change I wanted to invest in my health, I think its just as important as exercise and has a far reaching effect on overall health. Kudo’s to Zuzana for bringing this topic up.
Private Member |
Fermented vegetables are great! I especially like to ferment garlic cloves because fermentation eliminates all the indigestion issues. Fermented green beans or carrots are another one I like alot because by preparing them fermented in advance, I can have green beans ready anytime I want. I use 2 tsp sea salt to 1 1/8 cup spring water mixing to dissolve the salt. I don’t use tap water because it contains chlorine and other chemicals. I fill a glass jar leaving about an inch and half of space, cover the vegetables with the salty water and leave it out and wait to see bubbles. After a week for beans and up to six weeks for garlic, the vegetables are fermented and ready to eat. That’s it. I use Italian canning jars at Target.