Site navigation and social media links
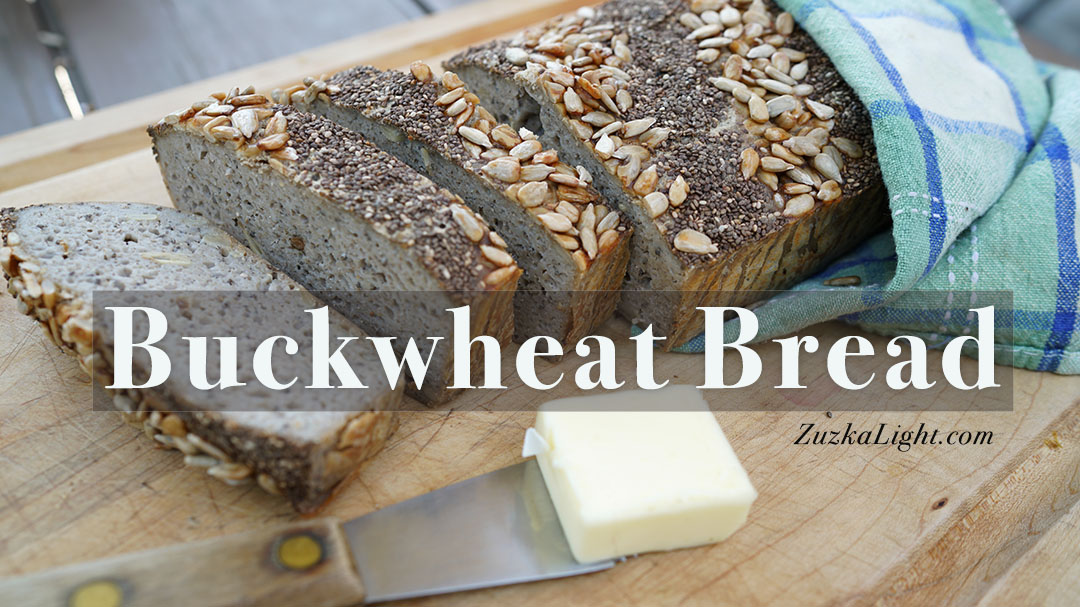
Gluten Free Buckwheat Bread Recipe (FM)
Recipes | July 22, 2017
Buckwheat is an excellent source of protein and it contains twice as much fiber as wheat bread. Buckwheat is actually not a grain. It’s a fruit seed that belongs to the same category as rhubarb and sorrel, which makes it naturally gluten free and safe for anyone with celiac disease or gluten sensitivity. Buckwheat bread is also a great source of vitamins and minerals and an excellent choice for blood sugar management because it doesn’t spike your insulin levels. Remember that insulin is a fattening hormone – it literally traps fat in your fat cells. If you keep raising your insulin levels by eating high carb, processed foods, you can develop insulin resistance, and no amount of exercise will help you to lose that weight.
This is an old school way of making a bread. Our ancestors used to soak, and ferment their grains for thousands of years until just recently. The way bread is made nowadays is far from the original recipes. The whole wheat bread you can find in the store today is more of a chemical concuction rather than bread. It’s heavily processed and the grains are stripped of the most nutritious components. All you’re left with is starchy carbs mixed with quick rise yeast and preservatives. Luckily, you don’t have to rely on that kind of bread if you learn the simple process of soaking and fermenting whole grains at home.
Ingredients
2 1/2 cup Buckwheat Groats
3 cups filtered water (for soaking)
1 1/3 cup filtered water (for the batter)
2/3 cup chia seeds
2/3 cup sunflower seeds
2 tsp salt
Tip: You can also add 1/4 cup of coconut flour. I find it tastes better.
Instructions:
- Soak the buckwheat in 3 cups of filtered water in a large glass jar for 5-6 hours.
- Strain the groats in a colander but do not rinse. The groats are going to be slime, so just shake the colander to get rid off most of the slime.
- Add the groats back into the glass jar and add the new water.
- Work in batches to blend the groats in a high speed food processor (I use Vitamin blender) to create a smooth batter.
- Pour the batter back into the glass jar, cover with a towel or a cheese cloth and let it sit in a warm place for 24 hours. This is the fermentation process that increases the bioavailability of minerals and nutrients. My recommendation is not to go over 30 hours – I did that and it didn’t turn out good.
- When the fermentation is over, you can gently mix in 1/3 cup of chia seeds, 1/3 cup sunflower seeds and salt. Pour the batter into a parchment paper lined loaf pan, decorate the top of the bread with the remaining chia and sunflower seeds and let it sit for another 30 minutes. In the meantime, you can preheat the oven to 350F degrees.
- Bake the bread in the preheated oven for 1 hour and 20 minutes. Remove from the oven, grab the parchment paper and lift the bread from the loaf pan onto a cutting board and let it cool down for at least 30 minutes before you start slicing.
- Slice up the bread, put it into a zip log bag or a Tupperware and store in the freezer. The bread will stay fresh in the freezer for a long time. You make yourself a fresh piece of toast using the toaster or the oven anytime you want.
Macros (for the entire loaf):
Calories: 2,482
Carbs: 370.9 g
Net Carbs: 283.9 g
Fat: 91.9 g
Protein: 85.1 g
Note: Don’t be afraid of this calorie count! It’s for the entire loaf of bread, not a single slice or even two, for that matter.


Private Member |
czech republic
I saw you made this in the video so I am crazy enough to give it some time and try it 😀 each bread is like a little art 🙂 and I like buckwheat 🙂
Private Member |
OK… 2 1/2 cup is more than 500g and when I soaked it, it doubled the volume (there was no water left) and 1 1/3 cup of water was nowhere near enough to blend it… and what you showed in your video was whaaaay less than 500g of buckwheat.
I think you gave us wrong measurements… 🙁
Private Member |
lake tahoe, nv, usa
There will be no water left after you soak it. You have to add 1 and 1/3 cup of fresh water after you strain the slime. What I showed in the video was a small batch – it’s easier to strain the slime if you work in batches. The measurements are right. Did you ferment the batter yet?
Private Member |
yes I did… the bread is beaking now… hopping for succees 🙂
Private Member |
i use buckwheat organic flour to bake any breads, will try to adapt zuzka’s recipe to use flour not groats 😉 we shall see haha
Private Member |
I also have buckwheat flour at home, but I don’t really know how to make this recipe with it. Can you maybe share your method? Thanks!
Private Member |
Tamar, I will let you know for sure, once I have done it! 🙂
Private Member |
hendersonville, nc, united states
I’m curious as well…please post your results and method using buckwheat flour instead of the groats 🍞
Private Member |
I will I will 😀 I will make it on Friday 🙂 and will surely let you know if it was any good 🙂
Private Member |
cindyxo, I have just responded to Tamar under the article, the bread came out really nice!
In a respond to Tamar I put all ingredients I used, could you have a look, as i don’t want to repeat it as it will look like I’m flooding the site :):):)
xx
Private Member |
hendersonville, nc, united states
Thanks, for the feedback and comments on your results? Im glad the bread turned out
Private Member |
Hi guys
I made buckwheat bread using organic buckwheat flour 250g, 5tbsp of corn flour, 3tbsp of oats, 0.5cup of linseed (or chia seeds as per Zuzka), 0.5 sunflower seeds – mixed well together, added just a bit of salt (i don’t like salt so I just added less than a tsp LOL) and then poured 1.5cup of filtered water- stirred well, poured or put (the dough was not runny) into the loaf tray (not a silicon one so I used a bit of coconut oil on that). I don’t have a normal oven but I use a convection oven and that I set on 170Celsius and for 45minutes.
It came out REALLY REALLY nice, didn’t rise at all 😀 and is very crunchy around, the inside is quite dense and softer than the top.
All in all, we are happy with the result and that bread is going to be nr one!
Yummy with butter, peanut butter, jam, whatever you want…
I’m so happy I have tried this one :):)
let me know how you got on 🙂
Private Member |
berkel en rodenrijs, netherland
I am soaking my buckwheat right now ;-))
Private Member |
thessaloniki, greece
Just bought my buckwheat!! Will try it tomorrow
Private Member |
melbourne, australia
I did it!!! It is cooling down now… Can’t hold to ty it!..
Private Member |
poughkeepsie, ny, usa
Don’t know what I did wrong followed the directions exactly but when I took it out of the oven its doesn’t seem to be cooked all the way through:-(
Private Member |
ramona, ca, usa
Everybody’s ovens are a little bit different so you may have just needed to leave it in a little bit longer. Next time you make it, try leaving it in the oven 10-15 minutes longer and if you feel like the top of the bread is getting too brown in the oven, you can lightly cover it with a piece of foil to stop the browning process and the middle will keep cooking 🙂
Private Member |
st. peter, minnesota, usa
It’s in the oven now! I did end up fermenting it too long (I got home hours later than planned & went to bed instead of baking). So, I’m eager to see how it turns out.
My dog was highly interested in the smell of the fermenting batter, which I found interesting because he doesn’t care about most things that aren’t meat or cheese.
Private Member |
mont-saint-hilaire, quebec, canada
I did the bread yesterday and I absolutely love it !!! Smell, taste and texture are perfect !!!
Private Member |
st. peter, minnesota, usa
I made this a second time (the first time I left it to ferment too long and it tasted a bit off so I made it again properly). This time it came out delicious! I fermented it by leaving it inside my oven with the light on to keep it just warm enough (the AC was keeping my rooms too cold for proper fermentation). It worked well and even overflowed the jars! It tastes good and has a nice texture. It seems like it will hold up well for sandwiches too.
ETA: I didn’t have chia seeds or sunflower seeds, so I decorated the top of mine with poppy seeds and chunks of salt.